Login Screen
After logging in to Github, we are greeted by a timeline similar to social media platforms. We can observe the activities of the people we follow or will follow on Github.
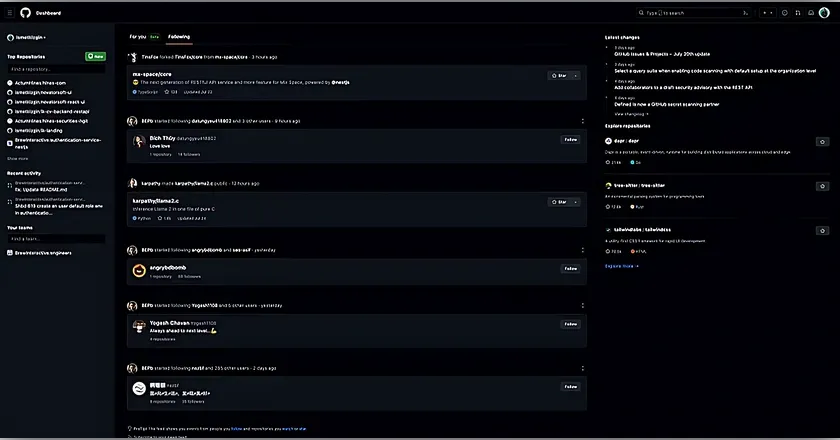
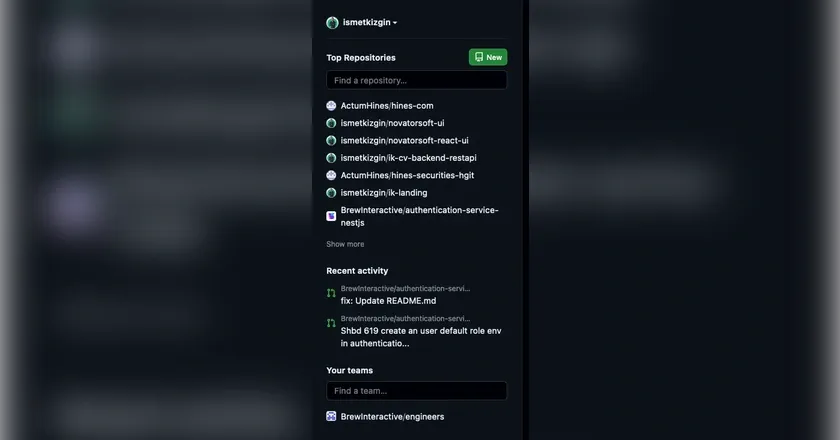
On the left side of the timeline, you’ll find shortcuts such as creating a new repository and quickly searching within your own repositories. Just below that are your frequently used repositories and the list of open Pull Requests. At the very bottom, you can view your organization teams.
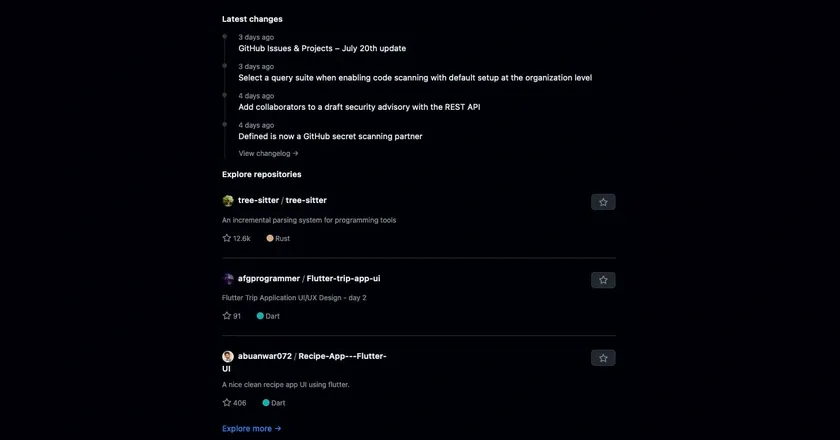
On the right side, you’ll see the latest updates from GitHub and some popular GitHub repositories. It’s always beneficial to follow the repositories recommended in this area it greatly helps you discover new packages.
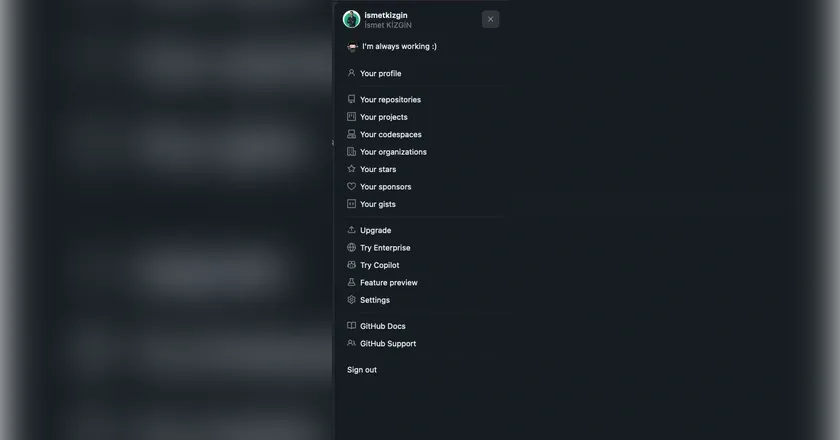
Sidebar Menu
When you click your profile picture in the top right corner of the website, a menu opens that includes shortcut buttons for all the actions and features you can access with your GitHub account. From here, you can also navigate to your profile page.
Profile Screen
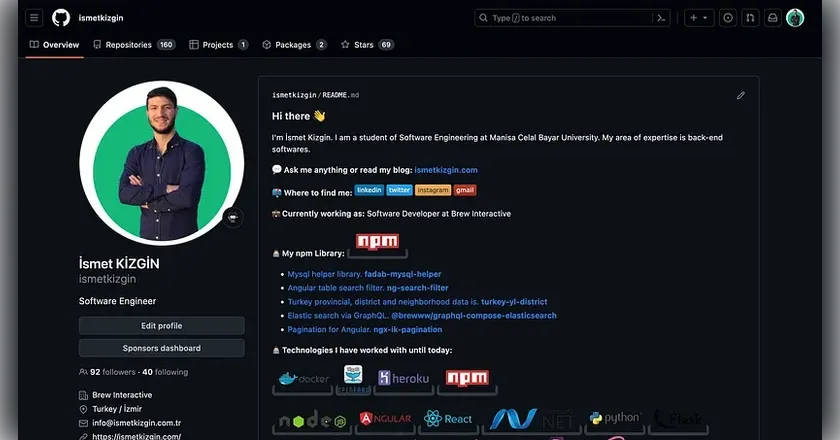
When you enter the profile screen, your personal information appears on the left side. Just below your profile picture, there is a shortcut button to edit your profile. Below that, your personal details and the badges you've earned from GitHub are displayed. At the very bottom, you'll see the organizations (communities, companies, etc.) you're a member of.

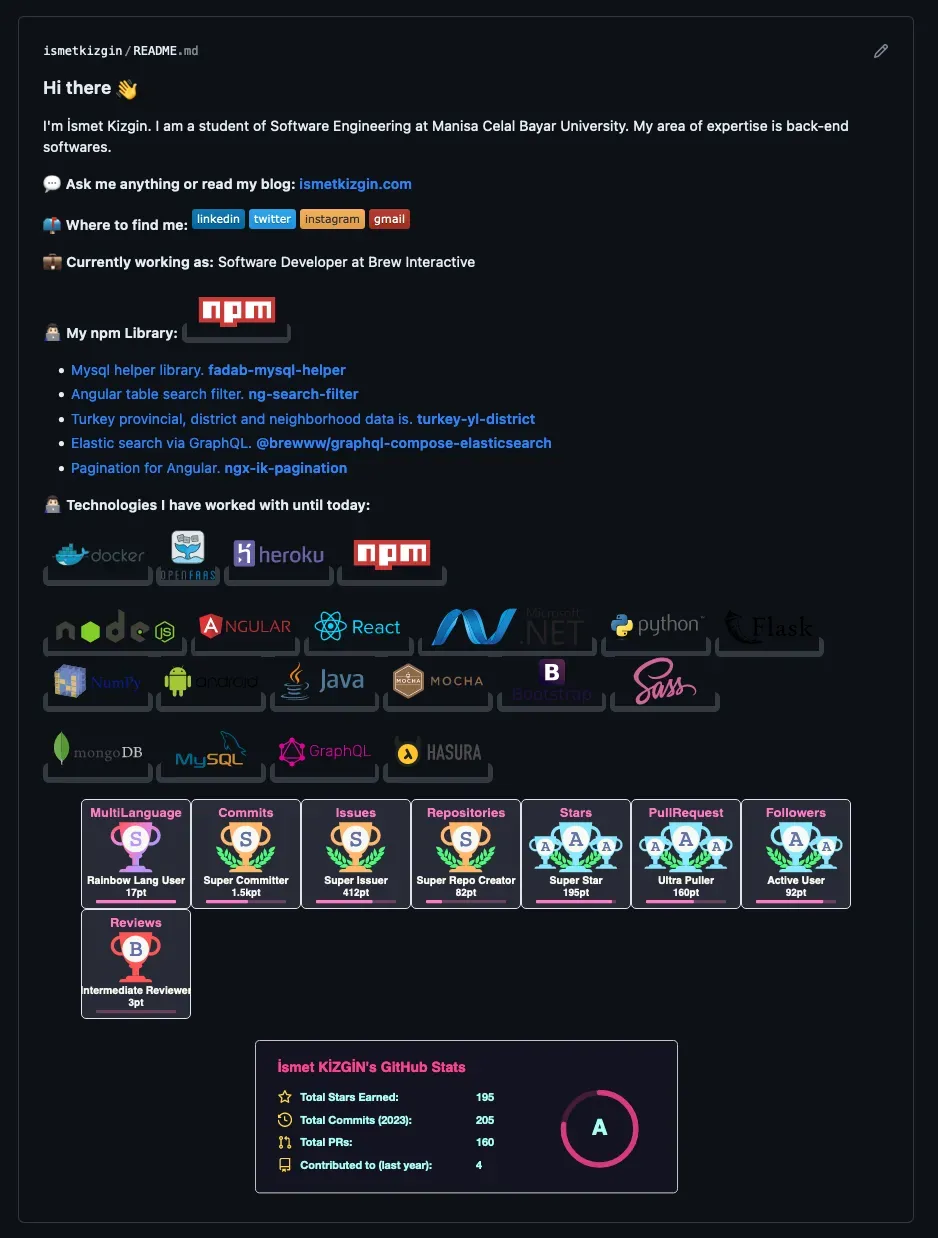
On the right side of the screen, there is a README section that introduces you. This area is becoming increasingly more impactful. GitHub provides a small space here where you can introduce yourself and share the technologies you’re interested in.
To create an effective README, you can use a few add-ons such as: GitHub Contribution Graph, Your Interests, Technologies, etc.
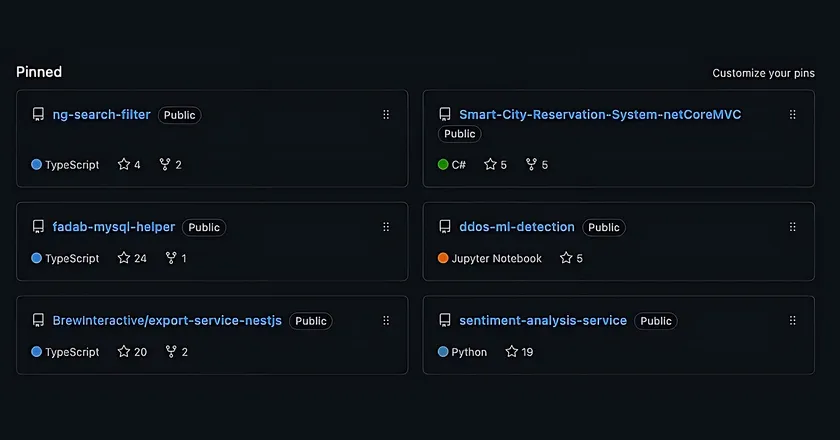
Below the README section, you can add up to 6 featured public repositories to your profile. This is a great way to guide people who want to learn more about you and see your best work.
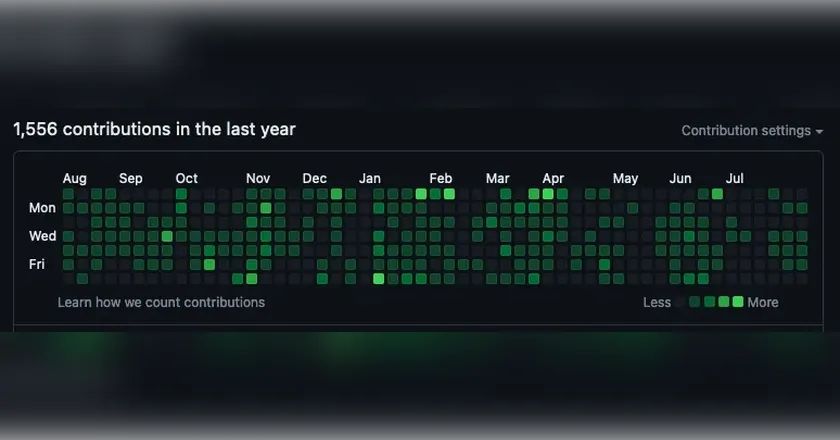
Just below this repository section, there is an activity graph a section that I think every developer has obsessed over at some point :) This graph visually displays your daily activity on GitHub. The more active days are shown in darker tones, while inactive days are marked in gray. Busy days are represented with bold colors, and days with no activity appear gray.
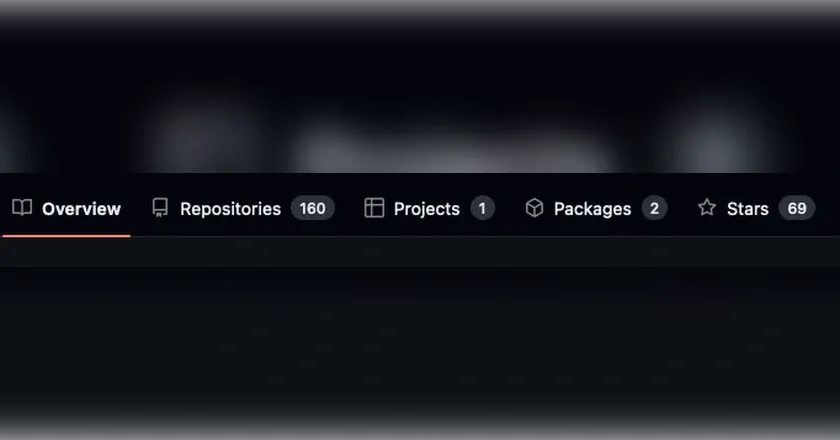
When you enter your profile page, you’ll see a menu at the top. From here, you can navigate between GitHub pages related to your account. I’ll be covering the contents of this menu in more detail in my future posts. :)
Thank you for reading my post, I hope it was helpful to you 🙂
Good luck with your work…